![]() I was contacted by HobbyCraft a few weeks ago, Emily [she deals with the knit/crochet side of things there – check out @knitcraftHQ on IG] thought I’d be interested in trying out some yarn for them. As you know, I have an inability to refuse free stuff so I was very happy to take a few balls off their hands! I was given a choice of any yarn from their Phildar range. I have a feeling that all things floof will get pretty popular in the coming months (Yep, I’ve been saying that since last year when I tried out Wool and the Gang’s Take Care Mohair). I need to do my bit in fulfilling this prediction so I chose Phildar Phil Flocon. It’s not mohair but it’s just as fluffy.
I was contacted by HobbyCraft a few weeks ago, Emily [she deals with the knit/crochet side of things there – check out @knitcraftHQ on IG] thought I’d be interested in trying out some yarn for them. As you know, I have an inability to refuse free stuff so I was very happy to take a few balls off their hands! I was given a choice of any yarn from their Phildar range. I have a feeling that all things floof will get pretty popular in the coming months (Yep, I’ve been saying that since last year when I tried out Wool and the Gang’s Take Care Mohair). I need to do my bit in fulfilling this prediction so I chose Phildar Phil Flocon. It’s not mohair but it’s just as fluffy.
 It’s a blend of all sorts but usually if I see alpaca on the label, I’m sold. I love anything with alpaca in it. This yarn is alpaca, wool, acrylic and polymide and it has a yummy woolly smell.
Did you know that Flocon can mean both flock as in wool (think flock wallpaper) and flake, as in snowflake! It’s wool and looks like fluffy snow!! Brilliant!
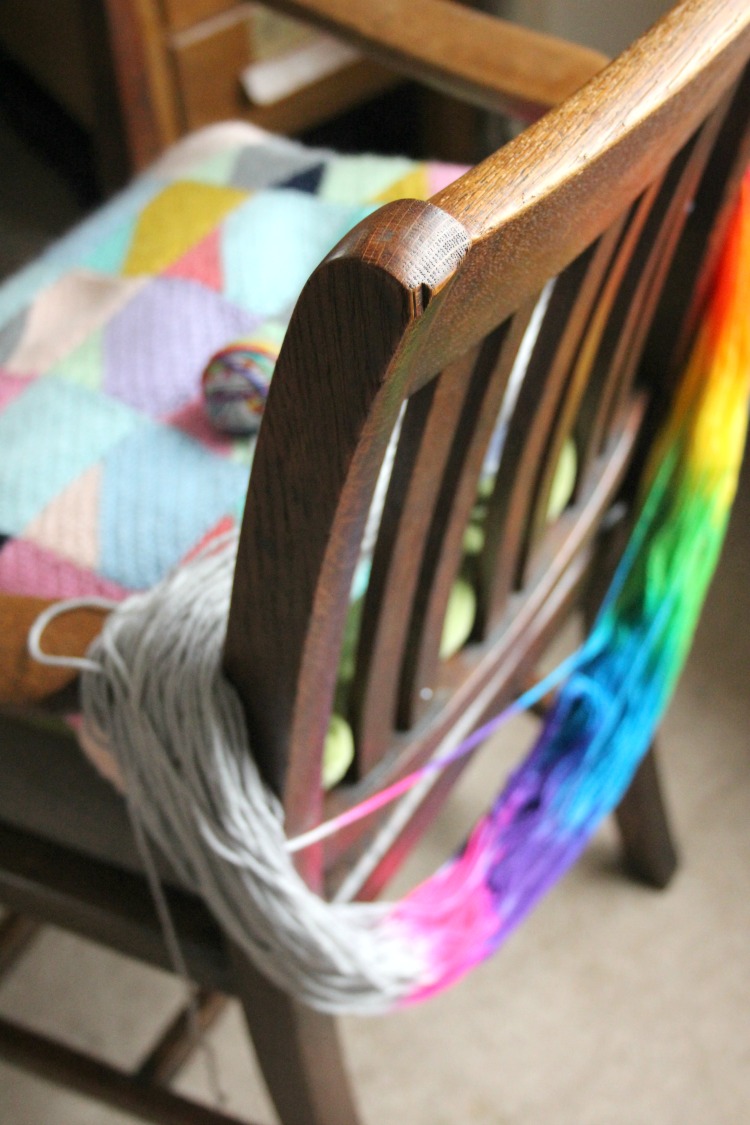
 I had lots of fun working with it. From experience I know that this isn’t yarn you want to frog. Whatever I made had to be super simple. I didn’t want to make mistakes and have to waste hours with failed rescue attempts. I decided on a cowl, you can’t get much more basic than that. I love the result, it’s fab. It is also super quick to work up. The fluffy nature of the yarn means it comes out quite chunky. Chunky is excellent, chunky means less work as far as I’m concerned!
![]() Because I got the yarn for free and because it’s a super easy crochet design I thought it’d be a nice idea to pop up the pattern for free too. Whilst you’re here, please do bear in mind that on the next episode of my podcast/vlog I’ll be doing a Giveway for my Phildar dregs. How appealing does that sound!!? Ok, sorry, not dregs. I have two full balls that I didn’t use and would love to pass it on. Keep an eye out for Episode 10, which is due to come out on the 21st July.
Because I got the yarn for free and because it’s a super easy crochet design I thought it’d be a nice idea to pop up the pattern for free too. Whilst you’re here, please do bear in mind that on the next episode of my podcast/vlog I’ll be doing a Giveway for my Phildar dregs. How appealing does that sound!!? Ok, sorry, not dregs. I have two full balls that I didn’t use and would love to pass it on. Keep an eye out for Episode 10, which is due to come out on the 21st July.
![]() Sooo, fancy and warm and cosy crochet cowl for winter (a winter that’s ages away!)? Here’s the pattern…
Sooo, fancy and warm and cosy crochet cowl for winter (a winter that’s ages away!)? Here’s the pattern…
You’ll need Phildar Flocon: 2x Creme, 2x Glacon and a 6.5mm hook.
Pattern is written in UK terms. 3tr=cluster.
Chain 65.
Row 1: 3tr in 7th from hook. (skip 2 st, 3tr in next) nine times. Ch2, 3tr in next st, (skip 2 st, 3tr) nine times. Skip 2 st, 1 tr in last st. Turn.
Row 2: Ch3. 3tr in space between clusters, nine times. (3tr, ch2, 3tr) in 2 chain space. 3tr in space between clusters, nine times. 1tr in last st of row. Turn
Row 3 – 35: Rep row 2, changing colour every six rows.
Row 36: As row 2 but slip stitch to join to Row 1 between each cluster. (Check the pics below to see the join) Fasten off and sew in ends.
![]()

 I wish I’d worn eye make up the day I took this!
By the way, this pattern belongs to me, please don’t publish it, pinch it, or do anything with it other than use it for your own personal fun. Give me a shout if you want to talk about that. Thanks ever so much. X


