


In recent weeks, I’ve been researching likely crochet trends for 2026; it really has inspired so many creative ideas that I definitely don’t have time to explore every avenue (despite desperately wishing that I could!). There are so many possibilities for crochet this year, and if I can’t make ALL the things, perhaps this will inspire you to try some new ideas in crochet.
Last year, I had a few crochet trend predictions for 2025, and wow, we saw pretty much all of them come to fruition, and many of them will continue into this year as well. Therefore, seeing as I covered Sustainability and Stash Busting, Mohair (and other fluffy yarns), knit look crochet, Houndstooth stitch, Plaid & Argyle crochet patterns, 80’s & 90’s fashion, knitters getting into crochet, etc., I won’t dive as deeply into them here. However, I don’t think any of these themes will be going anywhere, so bear them in mind!
Again, like last year, I won’t go over Granny squares that much because it goes without saying that the Granny Core aesthetic will stick around, too. And I will celebrate that. I bloody love Granny stitch!!
What Crochet Trends Will We See In 2026?
The sources I’ve looked at to find crochet trends for 2026 include fashion magazines (Vogue, Glamour etc,), Pinterest, Pantone, Etsy and, honestly, any article, blog post or YouTube video I could get my hands on over the last few weeks. From colour trends to fashion trends, it’s all important for crochet.
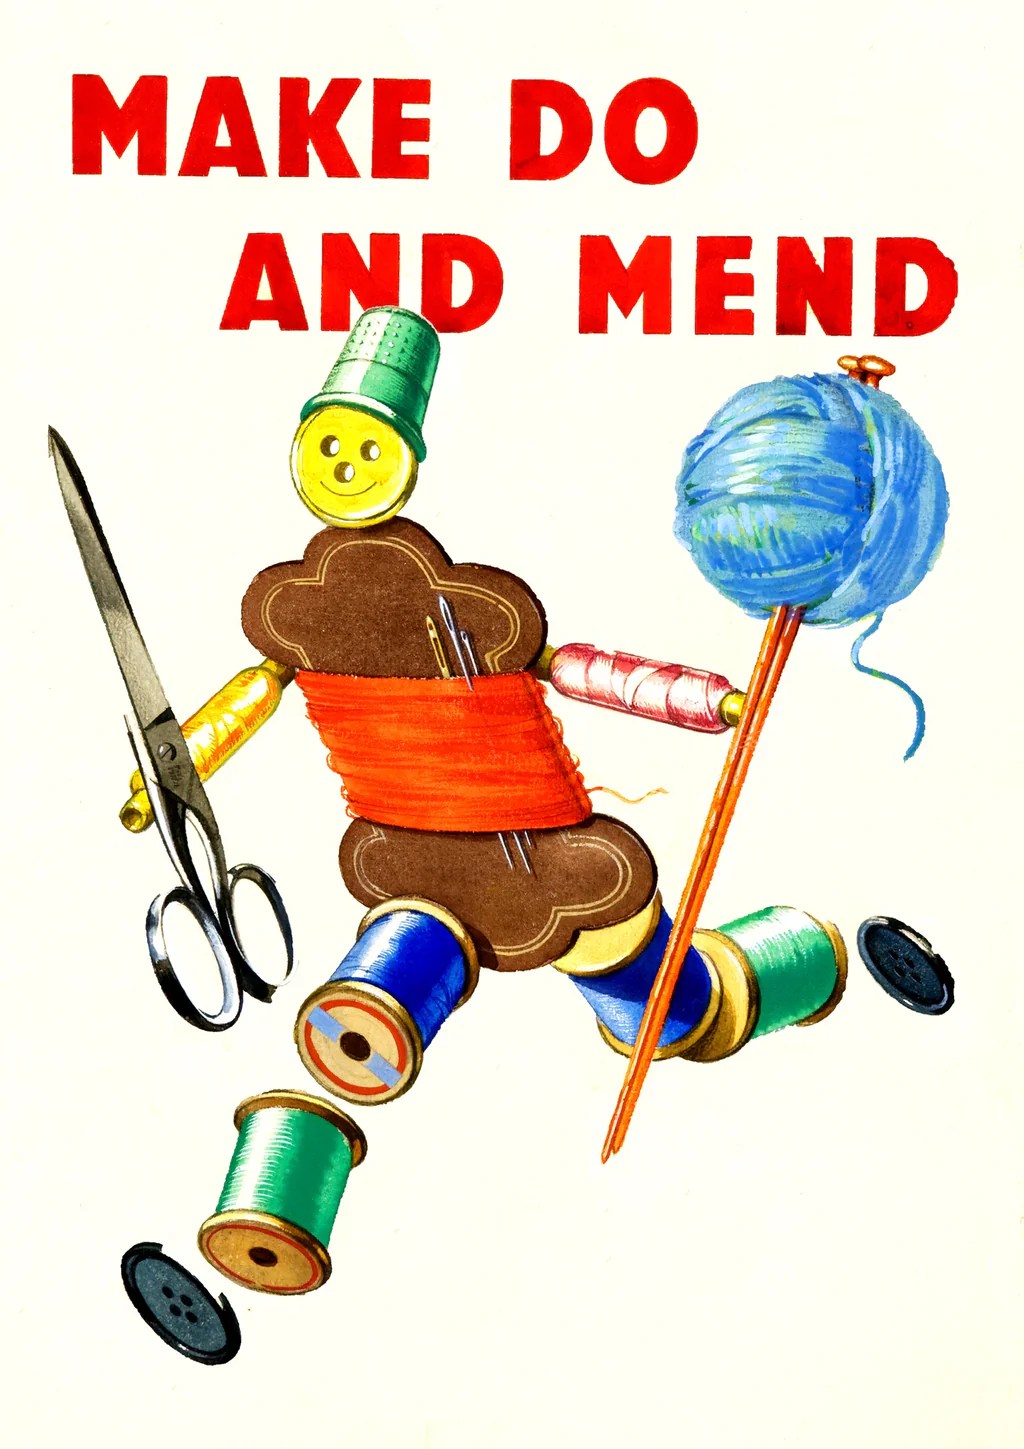
“Make it yourself” is big amongst the TikTok crowd. I’ve seen it on YouTube as well. Crochet is being embraced by a younger audience; projects are simpler, colourful and accessible to learners who want to try the basics. This introduces an army of new crafters and with them, new ideas about what’s fashionable in crochet. This is going to influence what we make.
In turn, it harks back to the Make Do & Mend, WW2 mentality. Good. We need to be way more thoughtful about how we consume Stuff. It’s exciting to see a movement that’s continuing to distance itself from yucky Fast Fashion. It’s brilliant, we are becoming so much more resourceful and imaginative in how we use materials. Visible mending is one way, and it’s in fashion at the moment. Then there’s repurposing old clothes and bedding – turning them into yarn.
We do need to be careful, though. It’d be disappointing to swap crappy Shein hauls for yarn hauls where you can’t possibly use all the yarn. That’s not sustainable either.
Colour Crochet Trends For 2026
Arranging colour palettes and playing with colourful yarn are two of the most fun aspects of being a crocheter. We express ourselves through colour, but we are also greatly influenced by the fashion world when it comes to specific colours. Remember, it’s not just blue, it’s Cerulean. Although in 2026, it’s actually Patina…
Despite the next couple of paragraphs, I am all for throwing every colour at a project and seeing what sticks. And I am pleased to see there is scope for this rainbowy view (more on that in a bit). However, let’s take a look at what others are saying. ..

Cloud Dancer and Patina Blue
Pantone is the obvious one for colour ideas, and there has been some surprise at 2026’s Cloud Dancer white. Hmm, I get it, it’s like a much needed reset after years of political and social instability (plus all the turmoil that goes with it). But I can’t see that changing any time soon, so, actually, is this colour choice tone deaf? Is it a kick in the face to those who are living a nightmare right now? Also, don’t they know that I’m a food spiller? It just feels a little bit like the Emperor’s New Clothes with a touch of Hunger Games.
Etsy is predicting Patina Blue as its colour of the year. So much better! I am definitely very willing to get stuck into blue. They’re pairing it with copper hues to marry a naturalistic, weathered look. This is interesting to me as this colour combo is a classic, so I don’t feel it’s very new. My bedroom walls are patina blue, and a copper lampshade hangs in the centre of the room. Ooh, am I ahead of the curve??
And how about Washed Linen as Etsy’s texture of the year!? It’s interesting to think about how this can be translated into crochet.
Also, Vogue 2026 colours include Lime Green, Emerald and now, Chartreuse. I have been waiting for the greens to push to the front for years! Plus, I’m in love with Klein Blue too – I remember learning about Klein Blue in Art History!

Pinterest Predictions 2026
Pinterest is a madhouse of ideas. Attention is pulled in so many directions that it’s almost impossible to focus. But despite having twenty one core trends for 2026 (across everything, not just crochet), it is possible to condense it a bit further.
It’s definitely worth looking at Pinterest’s 21 trends. They’re all aptly named and have fun boards full of evocative imagery. Across them all, you can take your pick of favourite ideas; that’s pretty much what I’ve done, and my cup runneth over. But I also cross-referenced them with the other sources and spotted patterns connecting everything. It has been such good fun, but now I have too many ideas and not enough time to bring them all to life. Oh well, it’s not the worst problem in the world.
There is literally something for everyone across the boards. I am not remotely sporty, so I’ve not looked at the “Darecations” pics properly. The thing I’ve taken from this trend, at a glance, is the appearance of light hearted, playful colour combinations, and they would translate really well in crochet. But other trends excite me more, and I wonder how they will work with crochet patterns.


The Best Pinterest Predictions. Crochet Trends for 2026.
To make it less overwhelming, it was easier to bundle multiple niches under fewer umbrellas. For example, let’s look at four: Gimme Gummy, Funhaus, Throwback Kid and Glitchy Glam. They’re all different, but they share commonalities too: Bright colours used in creative ways (funnily, this feels like the complete opposite of Etsy and Pantone). Also, bold stripes & colour blocking, asymmetry, and for us makers, relief crochet stitches. There are Venn diagram cross overs too, some coalescing, some not: vintage vibes, toys and clowns (harlequins), space age glamour,
In turn, Funhaus can partner with Opera Aesthetic and Vamp Romantic for some dark circus nightmares! Years ago, I read the Midnight Circus by Erin Morgenstern and that springs to my mind when I think of these trends paired together. Or, goodness, how about Cabaret!? If you haven’t seen Cabaret, you must! (It’s v relevant right now). Yes, to Liza Minelli, however, I am a little bit in love with Billy Porter as Emcee (from seeing pretty pics only, get me to the theatre!). Aaaanyway, in crochet, that could mean brooches and other adornments, monochrome stripes, drapey fabrics, velvetty chenile yarns, big bows, and lace work.
The latter also has its own trend for 2026: Laced Up. This one is really exciting and will have a huge influence on crochet. I’ll go into detail in a sec because by focusing on the core ideas, we can predict crochet trends for 2026.


And Even More Pinterest Ideas…
But I’m not finished with Pinterest yet. I need to mention Poetcore, which might just be my favourite. Think of Claudia in the Traitors, and you won’t go far wrong. We’re talking classic silhouettes, complete craftsmanship, and skilled construction.
I thought Poetcore could loosely fit with Khaki Coded and Neo Deco, too. In Crochet trends for 2026, these can be represented in layering pieces: neckties, wrist warmers, ribbed beanies, cosy socks and cabled sweaters. Messenger bags as well, to complete the look. Envisage classic colours, tan, khaki, navy, cream and deep greens (hello, strange cabbage trend!!), perhaps mixed with a teeny splash of complementary pastels and dirty rainbows. Plaid and Argyle patterns make a return here as well. Argh, there’s only so much stylishness I can take, I love it!


Then there’s Afrohemian Decor, which is a fusion of African styles. This is an opportunity for gorgeous textures and colour work in homewares such as rugs, cushions, bowls, and lampshades.
And I know that late 80’s / early 90’s glamour will hit big too (seen in the Glamoratti trend). I just don’t think I’m ready for it. Unless it’s to do with Diane Keaton, and then I’ll be first in line. I watched Baby Boom the other day. A big, wide belt for power dressing? The polka dot necktie? Maybe Diane can convince me.

The Crochet Trends For 2026 List
Ready for the list of crochet trends for 2026? These ideas are based on what I’ve chatted about so far and my own interpretation of what we might see, and in some cases, what we’re seeing already.
Lace and Filet Crochet
Such a strange one for folks who remember doilies at grandma’s house. But here we are; crochet lace and filet crochet will be big news as a trend for 2026.
As summer garments, a light cotton vest made of filet stitches is always going to be gorgeous. Or make a lace headscarf that doubles up as an accessory you can wrap around the hips. If you’re not into crochet wearables, you could definitely go down the doily route, whilst it’s fashionable (OK, I guess they’re practical, too). Or, there are some beautiful patterns for crochet tote bags, which I’m keen to try.
If you’re into home decor, filet crochet has traditionally been used for curtains to keep out the strength of the hot summer sun.
A simple yet effective way of introducing lacey features into your crochet is to introduce eyelets. Nothing more than a combination of chains and US dc (UK tr) stitches, and voila! Try it in a cowl or headscarf. Add a scallop edging too, for a touch of romantic vibes.


Fun Crochet Sweaters
Yep, I know. How about using intarsia crochet to add a bold image to the front of a crochet sweater? C2C, as well, is fabulous for creating pixellated images. It seems we might see childlike, fun images such as robots, rockets and cartoony animals.
If “drawing” pictures onto the front of sweaters isn’t your favourite thing, have fun with the yarn itself. Swap your usual yarn faves for something with extra character. Boucle and slub yarns are 80s-inspired, and I’ve seen them a lot in the past year. Look back at 80’s vintage patterns and have fun with colour blocking, or bat wings.
Cool Blue For Crochet
Ice blue is this year’s butter yellow. A sky blue bonnet, a skinny necktie, and a spring cotton tee will all be perfect for this crochet trend.
But blue isn’t everything. Strong, jewel colours are also on the cards, and I am very happy to see them. It relates to those circus, harlequin themes again. There’s a child like joy in bold, bright colours. And, wahoo, cobalt is drawing me in once again (let’s be fancy and call it Klein Blue). But it’s so good to see greens coming back as well. Bloody love green! Green with sky blue? Yes please!

More Mohair
I feel very strongly about mohair yarn in crochet. So much so, I’m breaking the promise I made not to talk about it more. But I wrote about it last week and looked at twenty crochet patterns that use mohair yarn. It works brilliantly with the lace and filet trend, too.
Fluffy yarn elevates crochet stitches in lots of easy ways. Simply using this yarn can change basic stitches into elegant accessories and modern crochet sweaters.
Mohair has taken its sweet time to get back as a crochet trend for 2026, but I think its moment is arriving now.
Modern Crochet Cables
There are more techniques for crochet cables than you realise. More often than not, though, crochet cables are created by the uniform positioning of post stitches. But did you know that wasn’t just the only way? There are a couple of other techniques coming up through the ranks, and they are far more “knit look” than post stitches will ever be.
Live loop cables are probably for advanced crocheters and have a much smoother effect, and they require a lot of practice to get right. A similar technique is used most often in a crochet i-cord. It’s fiddly as hell but worth it for its refined look. For more awesome game changing crochet cables, check out Adrian M and Kali’s Threads.
Crochet cables look great in mittens, sweaters, purses and long socks. They are items that will feature in key crochet trends this year. You know I’m talking about Poetcore, right?


Surface Texture in Crochet
Embroidery, buttons, and beads are being added to crochet fabrics to provide extra glam. Brooches too. Personally, it’s not a crochet trend for 2026 I’m interested in, but I know that trinketty bits are being added by lots of other crocheters. It adds personality and individuality to someone’s crochet to make it unique, so who am I to deny the fun?! It’s one of those things I say I hate, but by the end of the year, I’ll be totally in love with adding beads to crochet. Let’s see…
Interestingly, knitters are using surface crochet to embellish knitted garments, which is intriguing. Lots of buttons are featured in knitted garments at present, too. Buttons, I can do. I like buttons.
However, textural features can also be made with crochet stitches themselves. Yarns too. Therefore, it isn’t all about beads and buttons creating interest. Boucle yarns are currently a favourite of mine. The simplest crochet stitches are all that’s needed as the yarn does the talking. It brings to mind the Etsy prediction for Texture of the Year. It’d be interesting to see how crochet stitches represent a washed linen look.


Flora & Fauna Themes
With woodland whimsy, we will see more bugs, butterflies and dragonflies. Already, we’re seeing dotty animal prints in the form of deer inspired patterns. Zebra prints too (although not inspired by my local woods). Think of all the wild, outdoorsy stuff and getting back to nature, I wonder if it’s a desire for slowing down in a peaceful, dreamy way.
Here, I think it can cross into the Highland aesthetic again. There’s a little bit of the fantastic, but it’s also classic crochet, too. And that means more Claudia in her Traitors wardrobe, which is a delight. Also, Outlander, still! But just seasons 1 & 2, obvs.
Away from our animal friends, apparently, cabbage is a theme this year. Cabbage…. Although I think the focus is probably about eating it rather than wearing the leaves. However, why not build on the idea and use crochet stitches to make fabrics replicating ruffly green leaves? Add hints of purple, too.
Botanicals go beyond the cabbage, though. Florals in general are always popular, right? As with surface textures, why not appliqué crochet flowers onto a bag or sweater? Or freeform crochet flowers in a form fitting outfit? Perhaps the latter is for the more ambitious crocheter.

Crochet Capes? The Wildcard Crochet Trend for 2026?
And the wildcard, well, I think I’m going to guess at capes. Check out Anya Taylor Joy at the Dior spring/summer 26 show. Houndstooth, no less. This is driven by poetcore, which kind of makes sense, don’t you think?
Whilst I don’t fancy recreating this exact thing in crochet. Modern crochet capes are smaller and exist to highlight your outfit, not cover it up. So far, I’ve seen little shoulder capelets in granny stitches and filet crochet. It’s that 70’s nostalgia creeping in again, but with a modern twist.


Are These Crochet Trends for 2026 Correct?
I don’t actually know if these crochet trends for 2026 are correct, but I had immense fun exploring what the possibilities might be. I particularly enjoyed finding connections and ideas that were shared amongst the themes. Yet there are contrasts too. Delicate lace sitting alongside loud stripes of colour, for example. It’s delightful and fun to have such a choice.
However, it means there is something to appeal to everyone. And if you’re a chameleon, who’s into lots of different styles, you’ll have so much fun exploring different avenues, venturing into emerald pastures new (or lime or chartreuse pastures, I guess).
Crochet is clearly shaped by outside trends, some that are seemingly unrelated to handmade crafts. But it’s also shaped by others who crochet. Our influences come from all over the place, and inspiration evolves from that, don’t you think? I’m not educated in the details of it all, but I find it totally fascinating.
So, what kind of crochet will you check out? What trends do you think express your style the most? How will you incorporate it into your crochet? Let me know!
Cheers. x


